Bitbucket
Learn how to set up automated preview deployments from your Bitbucket.

Bitbucket is a version control and hosting service for Git repositories. It enables developers to store and manage code, collaborate on projects, and use features like pull requests and code review. Bitbucket also offers features for continuous integration and delivery (CI/CD) and integrates with various tools and services.
Working with Bitbucket in Codesphere
You can sign up to Codesphere with your Bitbucket account, check out repositories, and automatically create preview deployments for each pull request.
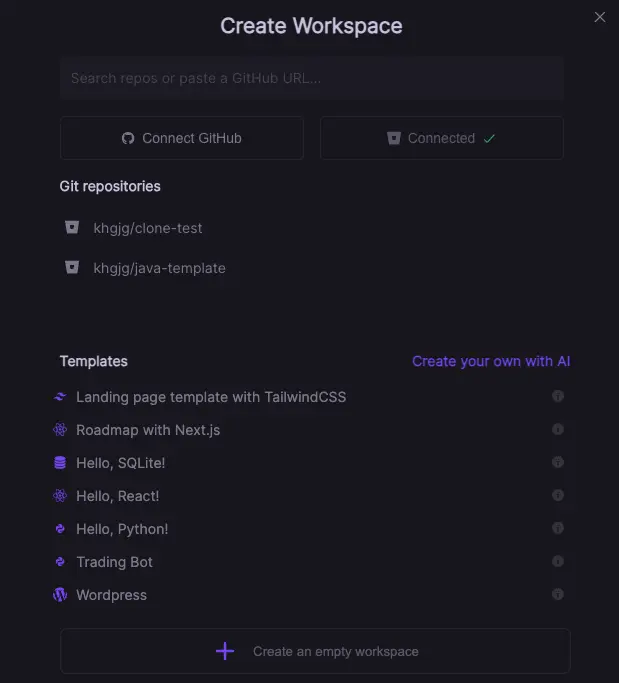
Either sign up directly with your Bitbucket account or connect an existing account - both only take a few clicks. Once connected, you can browse your Bitbucket repositories in the create Workspace dialogue. Cloning a repository, building the code, and getting your application live can take as little as a few seconds (depending on the size of your app). Even larger applications can typically be live in a minute.
Automating Preview Deployments for Bitbucket Pull Requests
If you are already familiar with the Bitbucket CI, you can find the pipeline code for you to adapt here: https://bitbucket.org/codespherecloud/deploy/src/main/
Here is a step by step guide how to set up preview deployments for any Bitbucket repository
- If you haven't done so already, create a Codesphere user with a username & password (OAuth won't work for using Bitbucket Pipelines) - we recommend creating a separate sysadmin user for this.
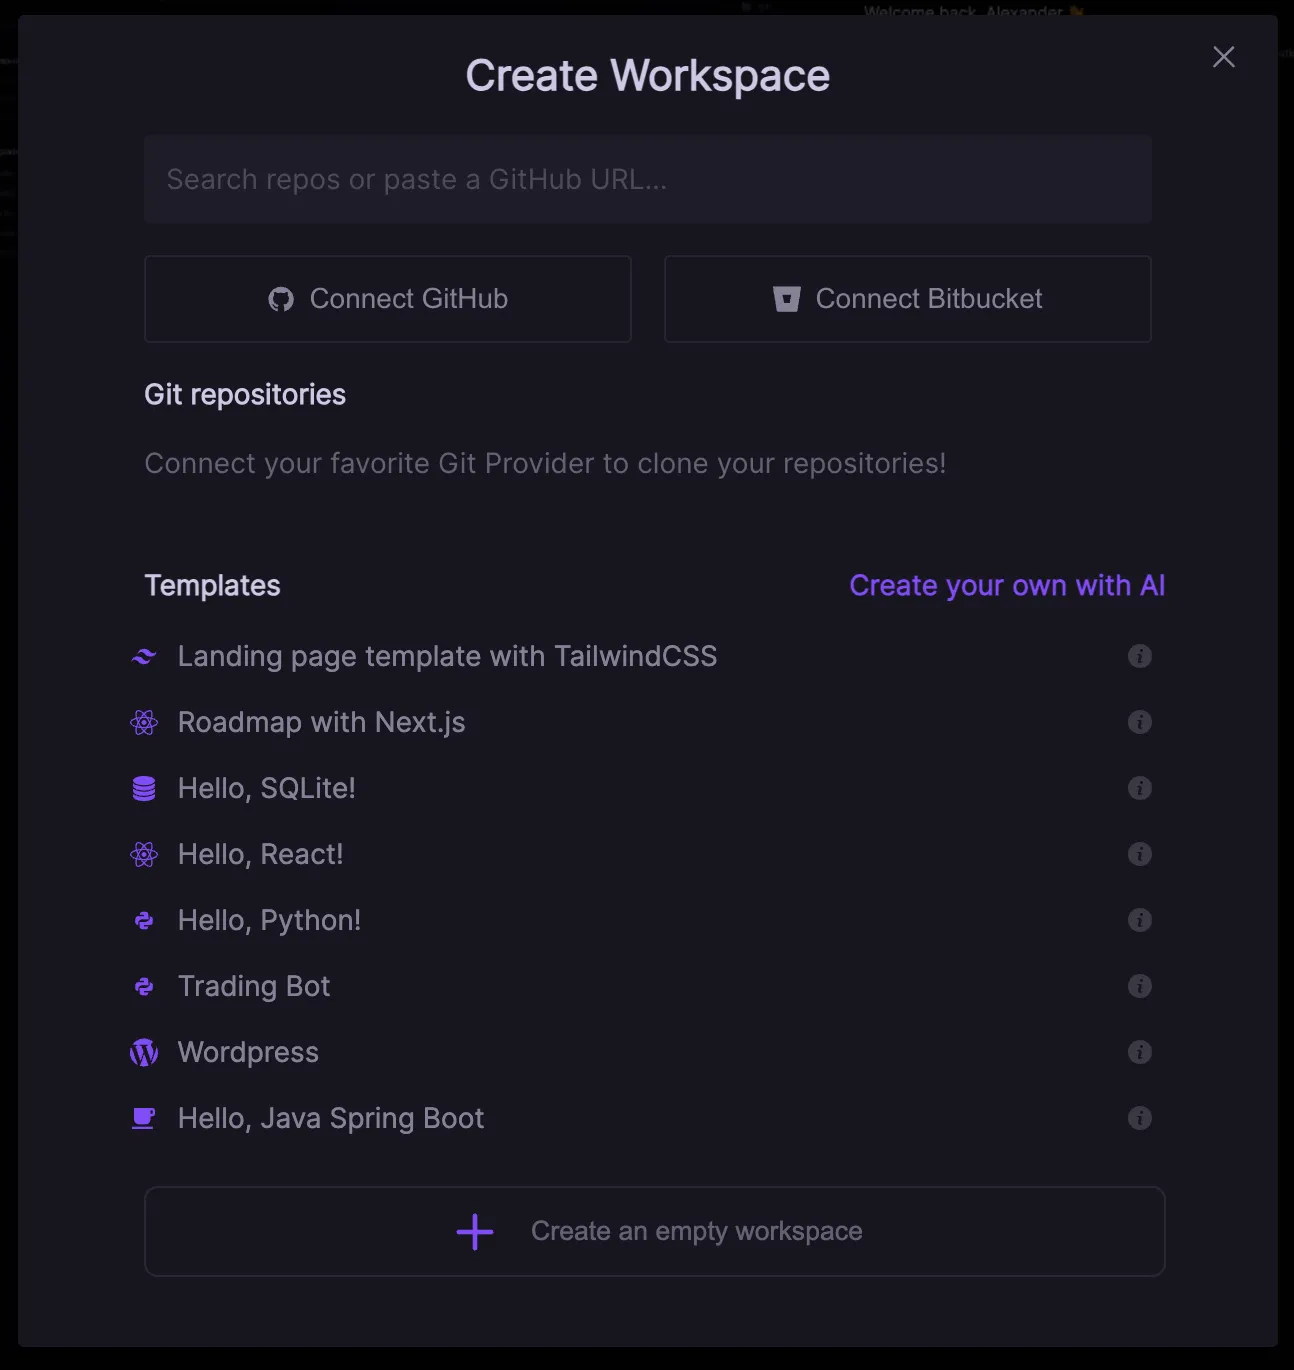
- Log in to your new user and connect it to Bitbucket by clicking the "+ New Workspace" button and selecting "Connect Bitbucket" in the "Create Workspace" modal.
- Ensure the connected Bitbucket account has access to the repository for which you are setting up the preview deployments.
- Make sure the repository has a Codesphere CI pipeline with instructions on how to build & run your app that your Pipeline can then use to create your preview deployment.
- Enable Pipelines for your Bitbucket account (requires 2FA to be set).
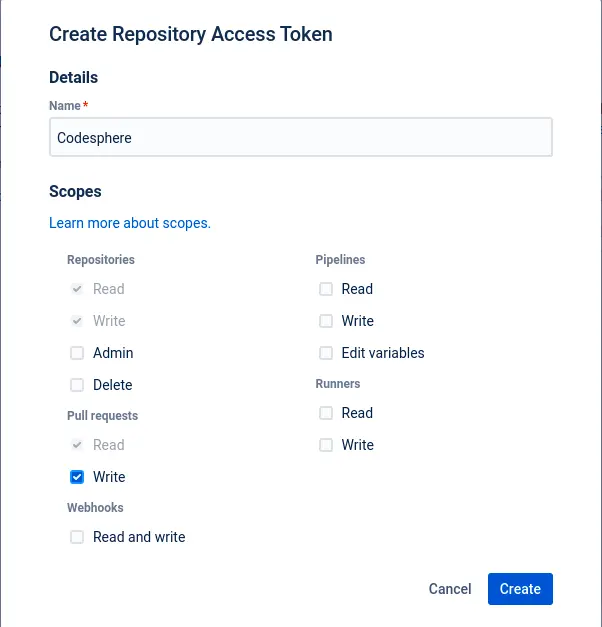
- Create a Bitbucket access token with read & write access to the repo and pull requests.
- Navigate to repository
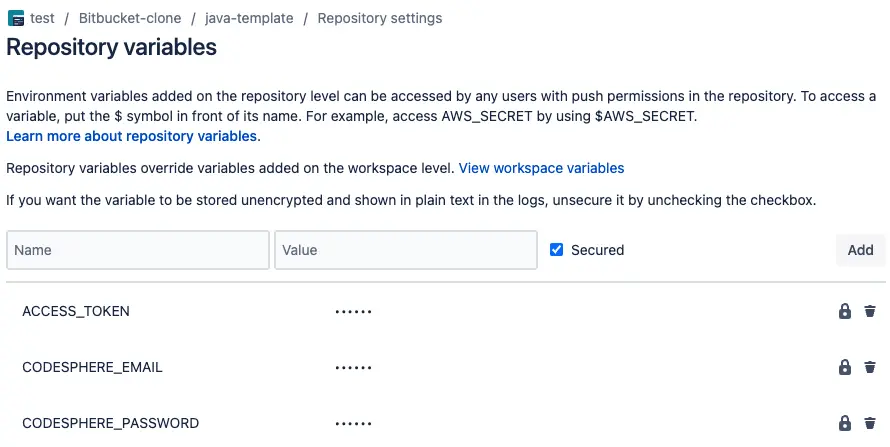
Settings/Pipelines/Repository variablesand add the following secrets to the repositories' environment variables - make sure to set the secured checkbox. You can find more information on which variables can be set below.
- Create a
bitbucket-pipelines.ymlfile in the root of your repository and add the following code.
image: atlassian/default-image:3

pipelines:
pull-requests:
    '**':
    - step:
        deployment: Test
        script:
        - pipe: docker://ghcr.io/codesphere-cloud/codesphere-monorepo/integrations/bitbucket-ci:latest
            variables:
            ACCESS_TOKEN: $ACCESS_TOKEN
            EMAIL: $CODESPHERE_EMAIL
            PASSWORD: $CODESPHERE_PASSWORD
            TEAM: My Team
            PLAN: Micro
            VPN_CONFIG: vpnConfigName
            ENV: |
                testing=abc
You can configure your Pipeline to have different triggers than just Pull Requests. Find more information on Bitbucket's available Pipeline settings here.
Available Variables
The following are the variables you can use for your Repository variables.
(*) = required variable.
| Variable | Usage |
|---|---|
| ACCESS_TOKEN (*) | The access token you created for the repository. It is recommended to use a secure repository variable. |
| EMAIL (*) | Email of the Codesphere user |
| PASSWORD (*) | Password of the codepshere user. It is recommended to use a secure repository/workspace variable. |
| TEAM (*) | Name of the codesphere team. |
| PLAN | Workspace plan of the workspace that will be created. Available options Micro, Boost, Pro. Default: Boost. |
| ON_DEMAND | Decide whether this preview deployment should be deployed in always on or off when unused deployment mode. Available options true, false |
| ENV | Set environment variables in your workspace. Define them in the same way you would, when using dotenv in a Node.js project. See https://www.npmjs.com/package/dotenv for details. |
| VPN_CONFIG | If you have created a VPN configuration for this team you can reference it here by its config name. This will connect created preview deployments to this VPN connection. |
Additional Information
After following this guide, your Pipeline will run on every pull request and create a Preview Deployment for you to review your changes. It will add a new comment to your Pull Request that includes the domain to your Preview Deployment:

