SQLite
Learn how to use Codesphere SQLite integration to set up databases inside your workspaces.

Old Documentation
This documentation has been superseded by a new version. Please visit our new documentation for the most up-to-date information and features.
SQLite is a library that implements a small, disk-based, self-contained, high-reliability, full-featured, SQL database engine. SQLite is the most widely deployed database engine in the world. It is an embedded SQL database engine, and unlike any other SQL databases, it does not have a separate server process. This makes SQLite a popular choice for local/client storage in application software such as web browsers, mobile applications, and other embedded systems.
Set up your database
Other than our other databases, SQLite is not available as a managed service in our Marketplace. Instead, you can create a SQLite database right inside your project. You can do this right from the Codesphere UI without writing a single line of code.
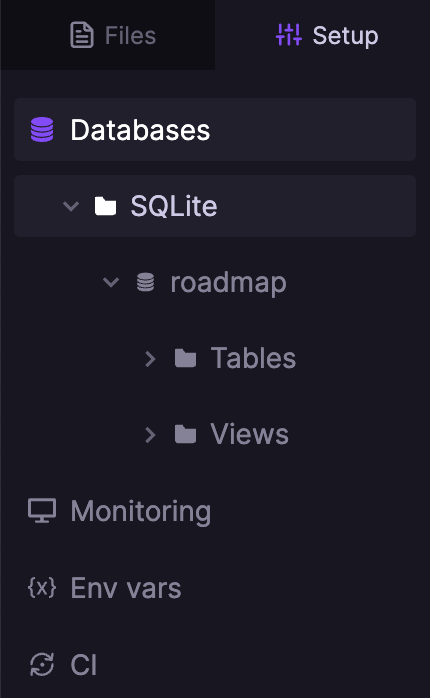
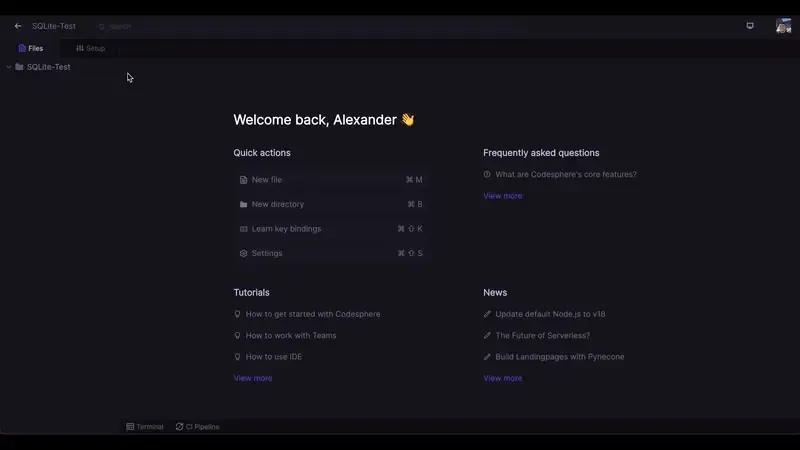
To create a new database file, navigate to the Setup tab in Codesphere’s IDE and select SQLite.
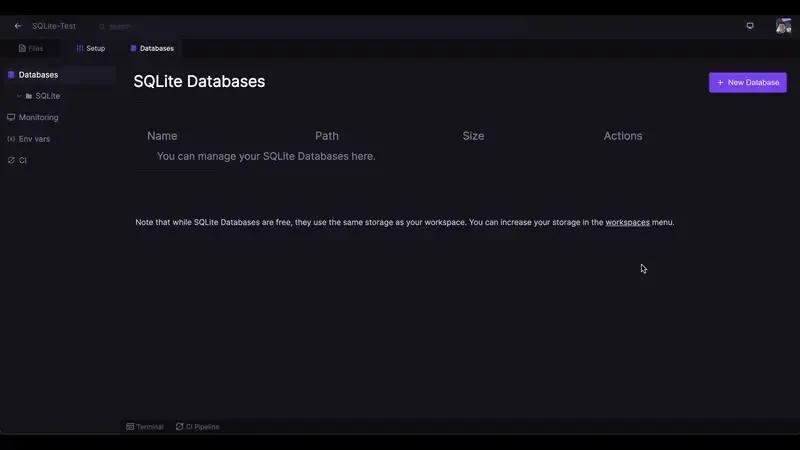
You can then create and name a new database, and Codesphere will automatically create the DB file for your database:
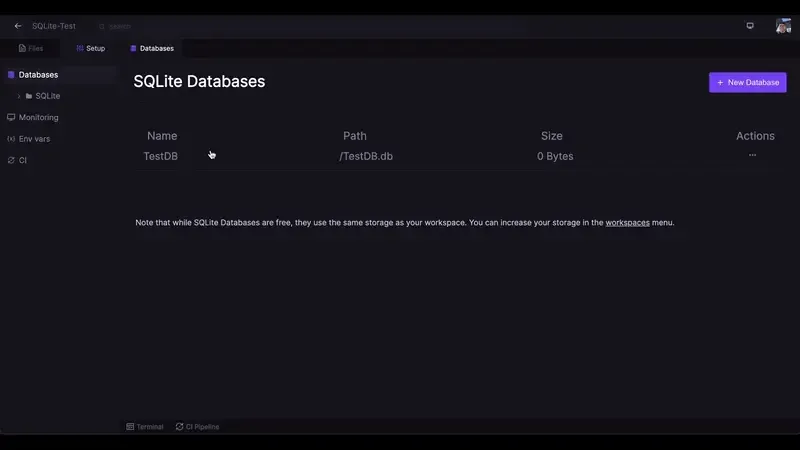
In this case we named our database TestDB. After creating it, we can click it to access the SQL Query Editor:
The Query Editor will allow you to easily run SQL queries right from the Codesphere UI. You can use it to make ad-hoc insertions and deletions, view data, set up and organize tables.
Making Queries right from the Codesphere UI
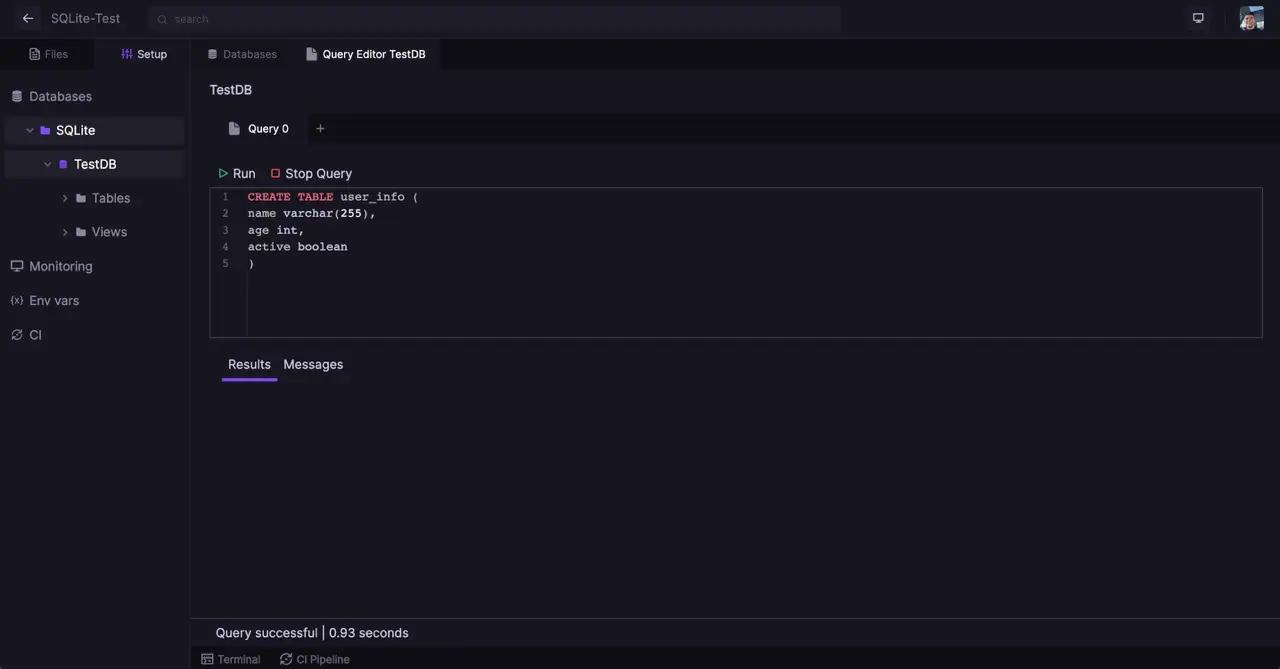
To start off, we can create a new table in our database. To do so, we can use the following query:
    CREATE TABLE user_info (
        name varchar(255),
        age int,
        active boolean
    )
We can then insert some data into our table:
    INSERT INTO user_info
    VALUES ('John Doe', 25, true);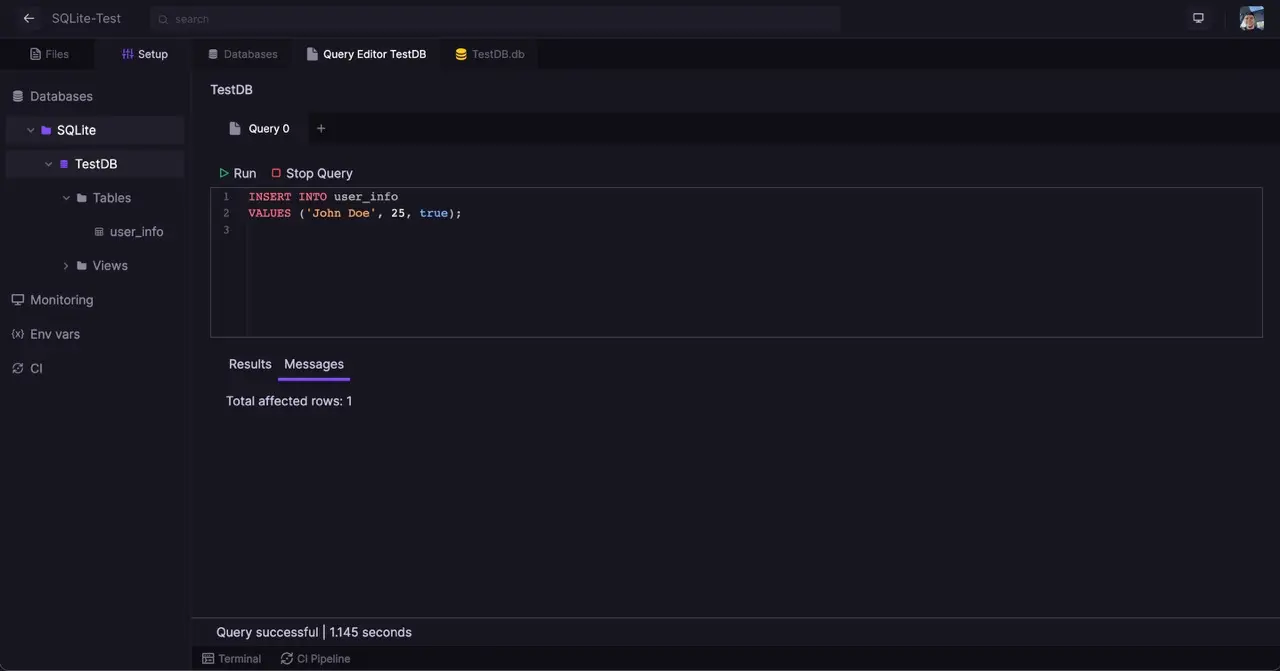
We can then query our table to see if the data was inserted correctly:
SELECT * FROM user_info;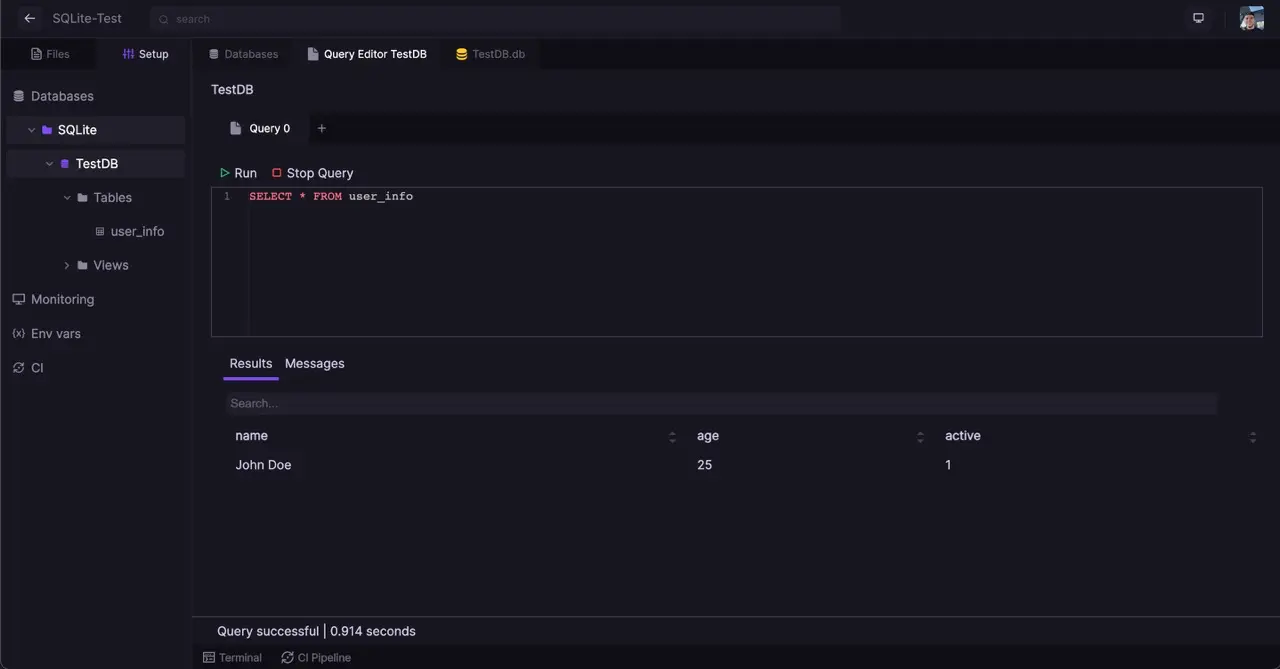
Making Queries from Node.js
You will notice that the .db file is in your file tree. This means that you can also access it from your code. To do so, you will need to install the sqlite3 package from npm. You can do so by running the following command in your terminal:
npm install sqlite3You can then access your database from your code. To do so, you will need to create a new instance of the sqlite3 package and pass it the path to your database file:
    const sqlite3 = require('sqlite3').verbose();

    const db = new sqlite3.Database('./users.db');

    const sql = `SELECT * FROM user_info`;

    db.all(sql, [], (err, rows) => {
        if (err) {
            throw err;
        }

        rows.forEach((row) => {
            console.log(row)
        })
    });

    db.close();
This will print out the following:
{ name: 'John Doe', age: 25, active: 1 }To see how you can use this in a real-world application, have a look at part 2 of our "Building an Email Marketing Engine" series. This tutorial explains, how you set up a frontend with a upload for custom data and store that data in a SQLite database.
