Staging Environments
Learn how to use Codesphere's Domains to improve your release process.
Old Documentation
This documentation has been superseded by a new version. Please visit our new documentation for the most up-to-date information and features.
Codesphere’s flexible workspace setup makes updating your services super easy and reduces the risk of production failures significantly if set up properly. In this document we will explain how you can use Codesphere to set up a staging environment and test updates via preview deployments.
About staging environments
A staging environment is basically a copy of your production environment. This environment has its own server with storage, computing power, and a dedicated way of accessing it, usually via an internal testing URL.
The major advantage of a dedicated staging environment is that any updates to your application can be (thoroughly) tested without interfering with your live system. This by itself makes outages and failures after updates less likely. With Codesphere setting up a Staging Environment is really easy.
With our Staging Environments you can even do more than just test updates before deploying them to production. The whole process of deploying becomes a matter of one single click and you can switch back and forth just as easily. This is called preview deployments.
Set up workspaces
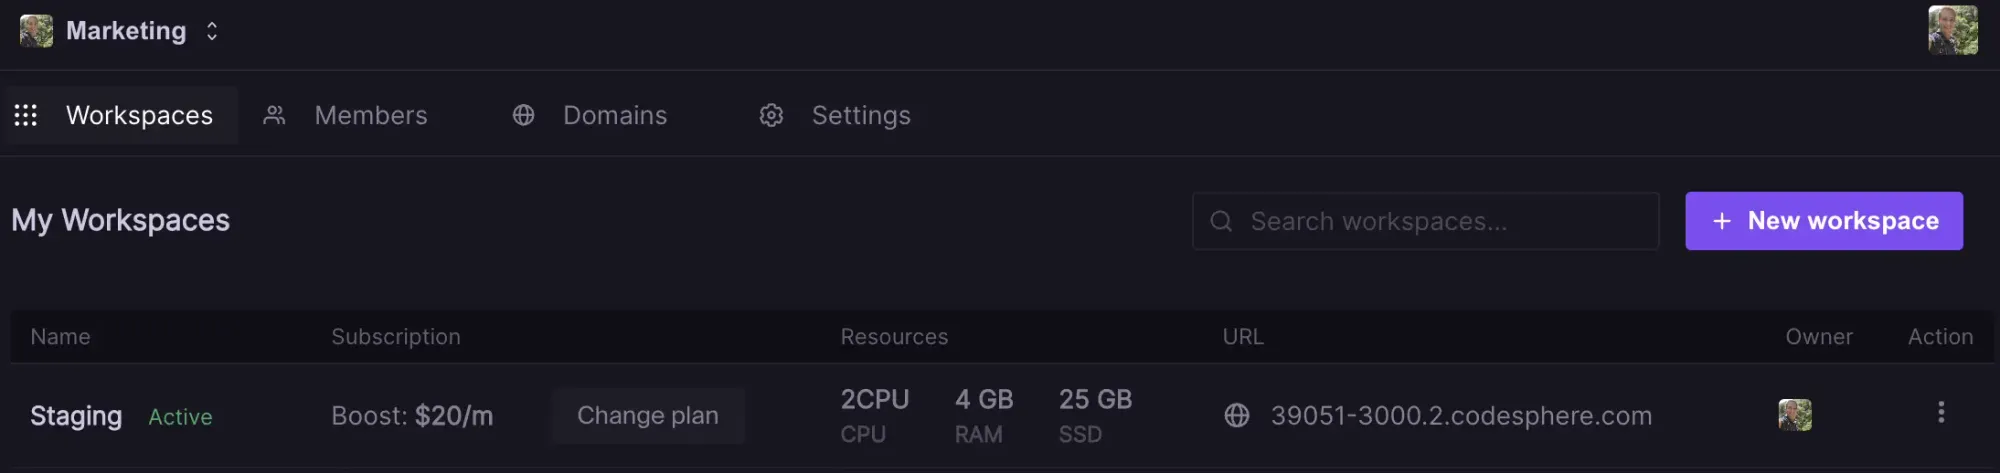
Navigate to your Codesphere Team and click New Workspace. Assuming your production workspace is already set up, all you need to do is select the Github repository and branch containing your code, provide a name (i.e. Staging) select a plan with appropriate computing and disk capacity and click start coding.
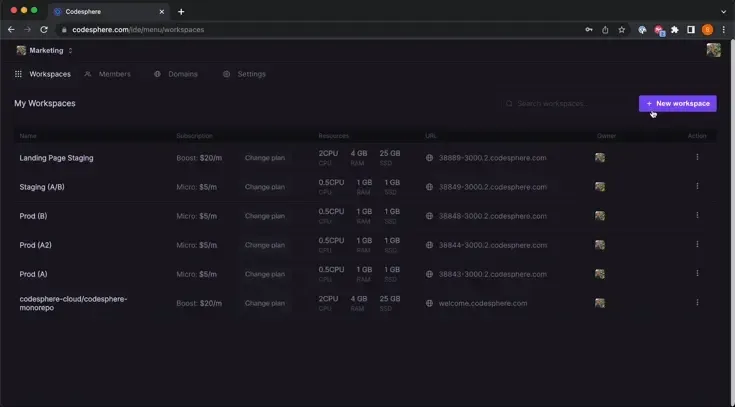
Alternatively we allow creating copies of workspaces without using Git. In your workspace table click the three dots on the right of the workspace you want to copy, select copy workspace, provide a name and click Copy workspace. Depending on the size of the files this can take a few minutes to complete.
Both options will create another workspace containing your application. Now repeat all the steps you would do in production to deploy your application, like installing packages and dependencies, building and running the app. If you need to connect an external database we recommend creating and connecting a separate copy of it as well, in some cases a separate partition of an existing DB will also work. WordPress has some specific steps, outlined in the last chapter.
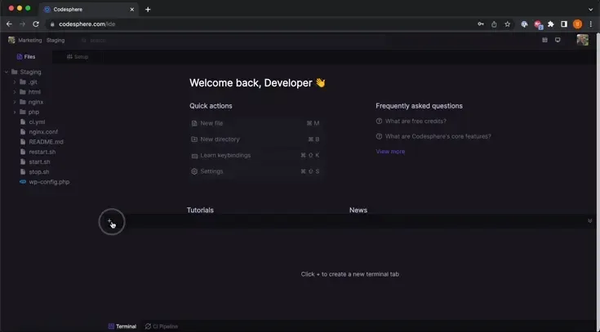
Once completed you should have a running copy of your app that you can access via the internal Codesphere URL or the open deployment icon.
Updating process
Now that we have set up the workspaces let’s go through the updating process. First make updates to your code or data like you would normally do, either in Codesphere directly (in the staging workspace!) or make changes locally and commit them to your GitHub branch.
Once the changes are committed to your repository, open the staging workspace we created earlier, click the + icon to open a terminal and type git pull. You can perform any of the usual git commands here as well (i.e. switching remote branches, rolling back etc.). If your repository is private you will need to use a personal access token to authenticate (see GitHub Documentation if you need to set one up first).

Review changes
Make sure your application is running with the latest version of the code (i.e. running the build command or CI stage again) and open the Codesphere URL of this workspace. Test your changes as thoroughly as needed. Once you are confident that everything works as expected you can deploy the changes to production.
Preview Deployments
Updating your production URL to use the latest version of the code you just tested in the Staging Environment can be done with a few clicks.
- Navigate to the Domains tab
- Click "Edit"
- Switch the workspace currently running your production environment with the staging workspace
- Click "Update"
Now your users will be instantly directed to the new application version.
What’s unique about this setup is that should you realize something is going wrong afterwards you can switch back to the old version just as easily by connecting the other workspace again. This minimizes the risk of production downtime significantly.
WordPress Specifics
With WordPress switching between Prod & Staging requires some extra handling due to the way it interacts with the database. You will need a separate database (a copy of production) before working on any changes in the staging workspace.
After your updates are done, tested and ready to be switched to production, you will need to carry over the latest user generated changes to the staging database first. There will be a small window (between copying the tables) in which changes to production (i.e. signups) will be lost. Usually taking and applying the dump takes around 30 minutes. If this is a concern we recommend putting your site into maintenance mode before proceeding.
From production select the tables to carry over (i.e. users, comments, password changes, plugin tables, anything that changes based on user input) and create a database dump. The table names will vary slightly based on your installation but follow a format similar to this: wp_xxxxxx_comments
mysqldump -yourdbhost -udoadmin -P25060 defaultdb table1 table2 > mytabledump.sqlMake sure to change the db host, user, port, dbname and tables to match your specific values. Remove statements that require super user privileges as they might fail.
Next you need to apply this database dump to your staging database, the command is going to look similar to the one before.
Once completed you can swap the workspace connected to your domain as explained before. We recommend keeping the old setup for around a week in case of any issues, afterwards it can be deleted.
