Getting started with Jupyter Notebooks for AI
Jupyter notebooks are a pillar of the machine learning community because they are great for testing & experimenting with datasets and models. Learn how to get started with Jupyter Notebooks in Codesphere.
Jupyter notebooks are important for machine learning as they allow testing and experimenting with data and models. This blog post will teach you how to create your first Jupyter notebook in Codesphere. You will also get to try out some cool AI examples. One example is using a stable diffusion AI image generator in a notebook.
Jupyter notebooks have been around for a while but that hasn't hurt their popularity one bit. The AI and ML community use Jupyter notebooks a lot and we like how they work with AI.
Jupyter notebooks are great because they have a user interface where you can add cells to run code. You can use different programming languages like Python, R, and Julia. There are many other options available thanks to the open source community. It's about time that we added support for it to Codesphere and explored some use cases, so let's dive right in.
Set up your first Jupyter Notebook in Codesphere
First you'll want to create a new empty workspace (or clone a repo with your existing notebooks of course). Since we will be using Python inside the notebook (which requires Python 3.9 or higher) we will need to update Python first.
[Workaround] If you want your python version to persist across workspace restarts currently you are required to set the following environment variable (via setup/env vars)
Key:
PYENV_ROOTValue:
/home/user/app/.pyenvThis will ensure the python version selection gets stored in the persistent app directory. Afterwards open a new terminal (Do not use existing terminals as they are missing the environment variable you just set) - in this new terminal type
pipenv install jupyter --python 3.9.11When prompted to confirm whether you want to install the new Python version confirm with Y. Wait till all the dependencies were added successfully - this might take a minute.
Afterwards either activate your pipenv via pipenv shell followed by a jupyter notebook or run
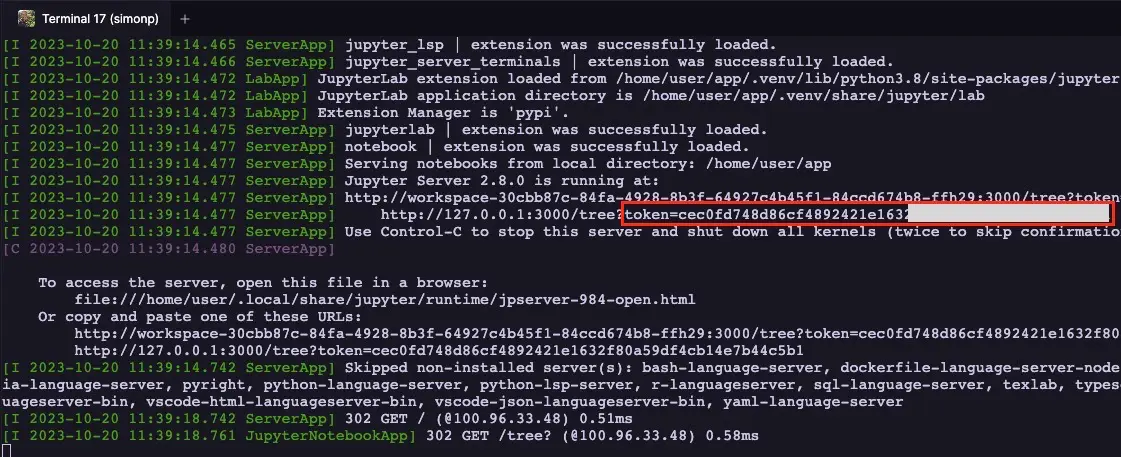
pipenv run juptyer notebookNow you can open the deployment with the icon in the top right corner. Per default Notebooks are secured by a password / token mechanism - this ensure's that only you and your team have access to the notebook server.
That means also you will need to authenticate yourself as the owner of this notebook server with a token - your specific token will be printed in the terminal output of the last command you ran. Copy the token and insert it into the webUI of your notebook server.
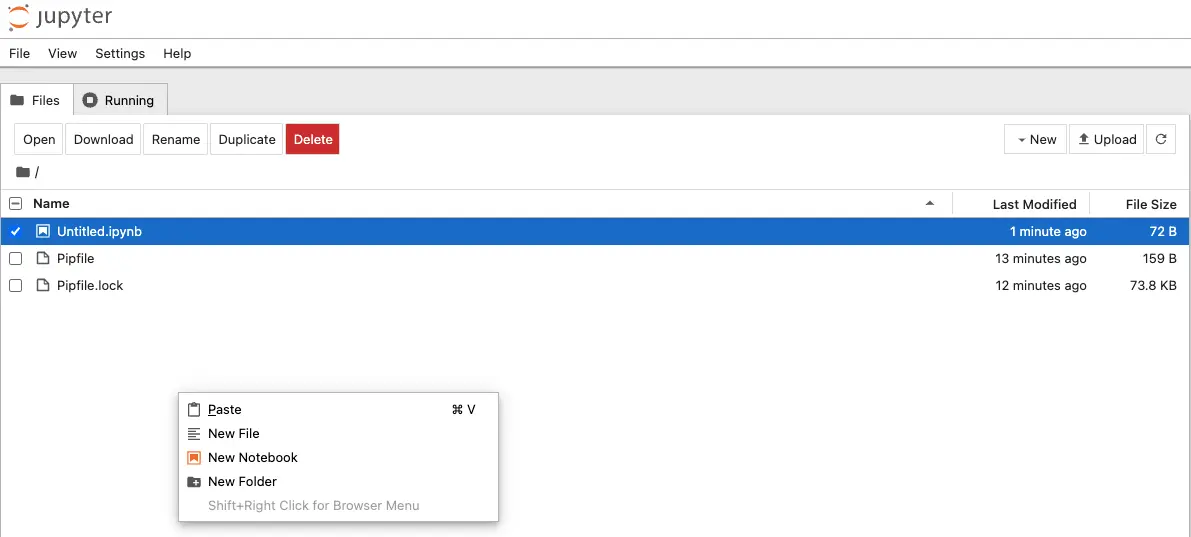
After providing your token you should be greeted by the Notebook Server UI that contains all the files in your directory. If you started with an empty workspace you should only find the pipenv files here. Right click anywhere in the UI and select new notebook. This will open a new tab in your browser with an untitled and empty jupyter notebook. You still need to select the kernel, for this simple example we'll go with the default iPython kernel.
Notebook basics (skip ahead to use cases if you are familiar with notebooks already)
Notebooks are organized in cells and there are 3 types of cells:
- Code cells
- Markdown cells
- Raw text cells
Code cells contain your python code or terminal commands like pip install pandas and can be executed one by one. You can run a single cell multiple times and if the code you ran contains terminal output the notebook frontend will display the output below the cell. Likewise if your code doesn't run through because of unhandled errors it will display these below the respective cell.
Markdown cells on the other hand contain markdown formatted text. This is great for creating interactive documents that allow others (or yourself in the future) to follow along and understand why you built the code blocks the way you did.
Try adding some Python code to the first cell and click the play icon in the menu.
print("Hello this code was excecuted in a jupyter cell") You should see whatever text you put inside the "" of the print statement below the cell.
If you want to use a markdown cell instead, select the cell and switch the from code to markdown. If you enter valid markdown notion and run the cell you will get formatted text in return.
Use case - Running your own open-source DALL-E alternative
For this example we will run a Text to image AI. It requires a notebook on one of our GPU plans - free BETA available through special signup link: https://ai.codesphere.com/
We will be using this performance optimized version of stable diffusion https://huggingface.co/segmind/SSD-1B because that is small enough to be run on our free tier GPU. Deploying and running inference of the Segmin SSD 1B model is actually really easy in Codesphere.
In your notebook you need to add & execute the following code cells:
pip install git+https://github.com/huggingface/diffuserspip install transformers accelerate safetensorsfrom diffusers import StableDiffusionXLPipeline
import torch
pipe = StableDiffusionXLPipeline.from_pretrained("segmind/SSD-1B", torch_dtype=torch.float16, use_safetensors=True, variant="fp16")
pipe.to("cuda")
# if using torch < 2.0
# pipe.enable_xformers_memory_efficient_attention()
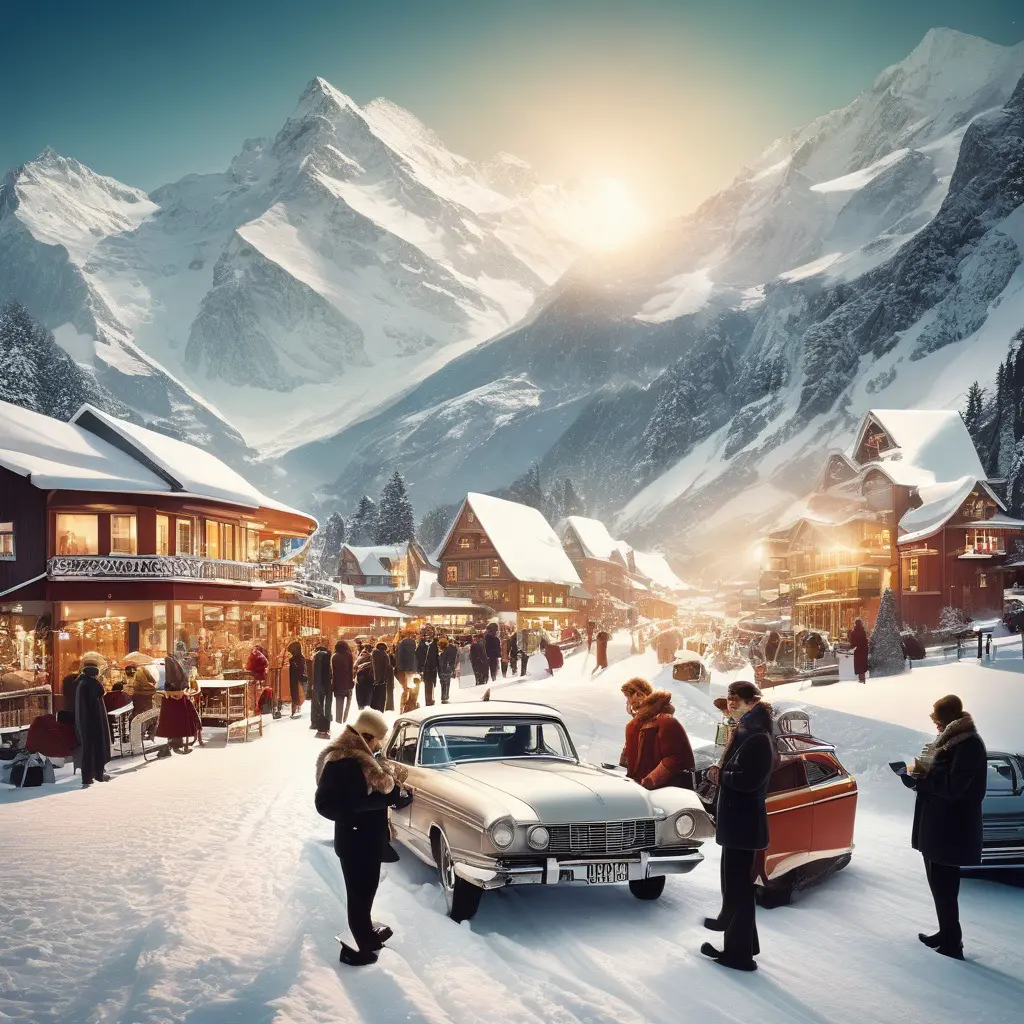
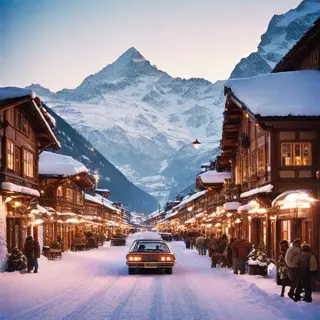
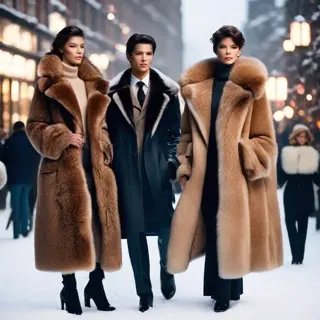
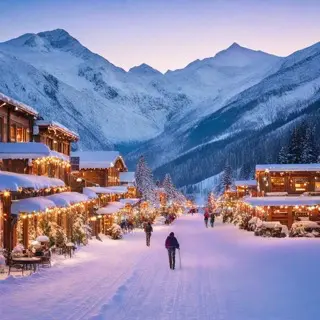
prompt = "A glamorous ski town in the Swiss alps in the 80s. A retro fotograph style picture with street lights, fancy cars and snowy mountains in the background and fancy dressed people enjoying a hot drink outside." # Your prompt here
neg_prompt = "ugly, blurry, poor quality" # Negative prompt here
image = pipe(prompt=prompt, negative_prompt=neg_prompt).images[0]imagePrepare to be amazed! The output is a beautiful and stunning scene it feels as if we where there in 1980s Zermatt 💜 You can hold shift+right click on the image to copy or save it from the notebook to your laptop.
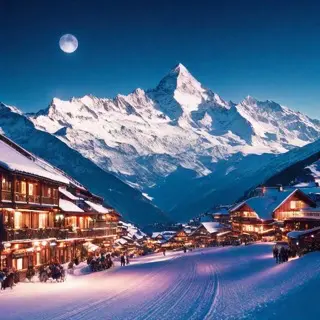
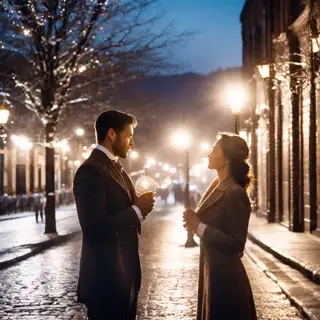
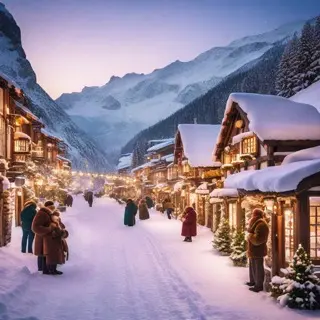
And just for the fun of it, you don't even have to come up with the detailed prompts yourself - ask chatGPT or your trusted self hosted Llama to to help with the prompts:
"I need your help to write prompts for a stable diffusion text to image generator. The goal is to generate a series of images that are detail rich, have a cosy atmosphere and a retro look.
Can you describe this "A glamorous ski town in the Swiss alps in the 80s. A retro fotograph style picture with street lights, fancy cars and snowy mountains in the background and fancy dressed people enjoying a hot drink outside." from multiple angles and perspectives so that I can plug each prompt into the image generator?"


Want to try it out yourself? Sign up for free:
Zero config cloud made for developers
From GitHub to deployment in under 5 seconds.
Review Faster by spawning fast Preview Environments for every Pull Request.
AB Test anything from individual components to entire user experiences.
Scale globally as easy as you would with serverless but without all the limitations.
Use case - Data exploration [coming soon]
[Coming soon]
