Help build the Metaverse by Developing VR Websites
In this tutorial, we’re going to be building a VR website in minutes (you don’t even need a VR device to test it with)!
Table of Contents
I know what you’re thinking, building VR apps requires a PHD in Mathematics and Computer Graphics, and will take you months just to get an app up and running.
Well, I’m glad to say that you couldn’t be more wrong. In this tutorial, we’re going to be building a VR website in minutes (you don’t even need a VR device to test it with)!

That means you, yes YOU, can build VR experiences and contribute to the metaverse. Let’s get started!
Why The Web?
Now the web might not be the first thing you think of when you think about virtual reality. In reality, however, the web is one of the few truly cross platform technologies that exist.
Building a VR app once with Javascript will allow it to run on virtually any VR system.
What Are The Relevant Technologies?
So what tech are we going to be using?
First, we are going to be taking advantage of Aframe.io, a library for building and rendering VR scenes with some simple HTML and Javascript. Additionally, you may decide to use Three.js for more complex graphics. Aframe.io includes support for the Three.js API.
Next, we are going to be taking advantage of WebXR, a library originally developed by Mozilla that allows you to interact with VR devices directly from the web. Additionally, I’m going to show you how you can test your apps without a VR device using a WebXR API extension.
Getting Started With AFrame.io
To gain access to Aframe.io, just add the following script via CDN:
<script src=”https://aframe.io/releases/1.2.0/aframe.min.js"></script>
We can then create a simple scene with the following html:
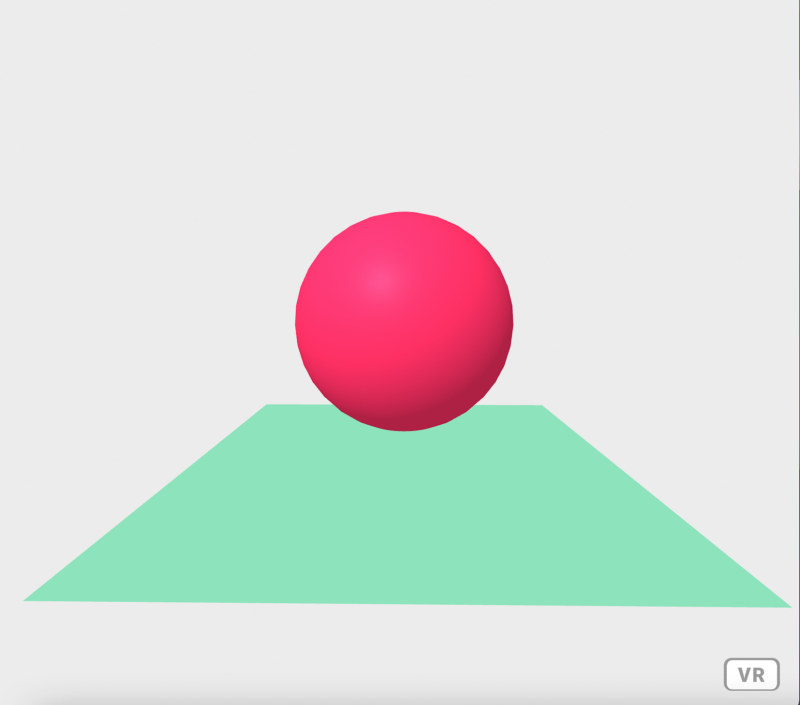
Now the key piece to notice here is that we surround our VR scene with the <a-scene> tag. We can then insert various shapes into our scene by including the relevant tag.
You can find a full list of a-frame tags, as well as the full A-Frame docs here:
https://aframe.io/docs/1.2.0/introduction/
You’ll notice that while you can drag the screen to move the camera, you can’t yet actually use a VR device. This is because the html file has to be served, it can’t be run off a static file.
This can be done fairly easily with nodeJS. Simply setup an npm project with the following javascript file:
Finally, we can get a little fancier, and manipulate our scene with Javascript like so:
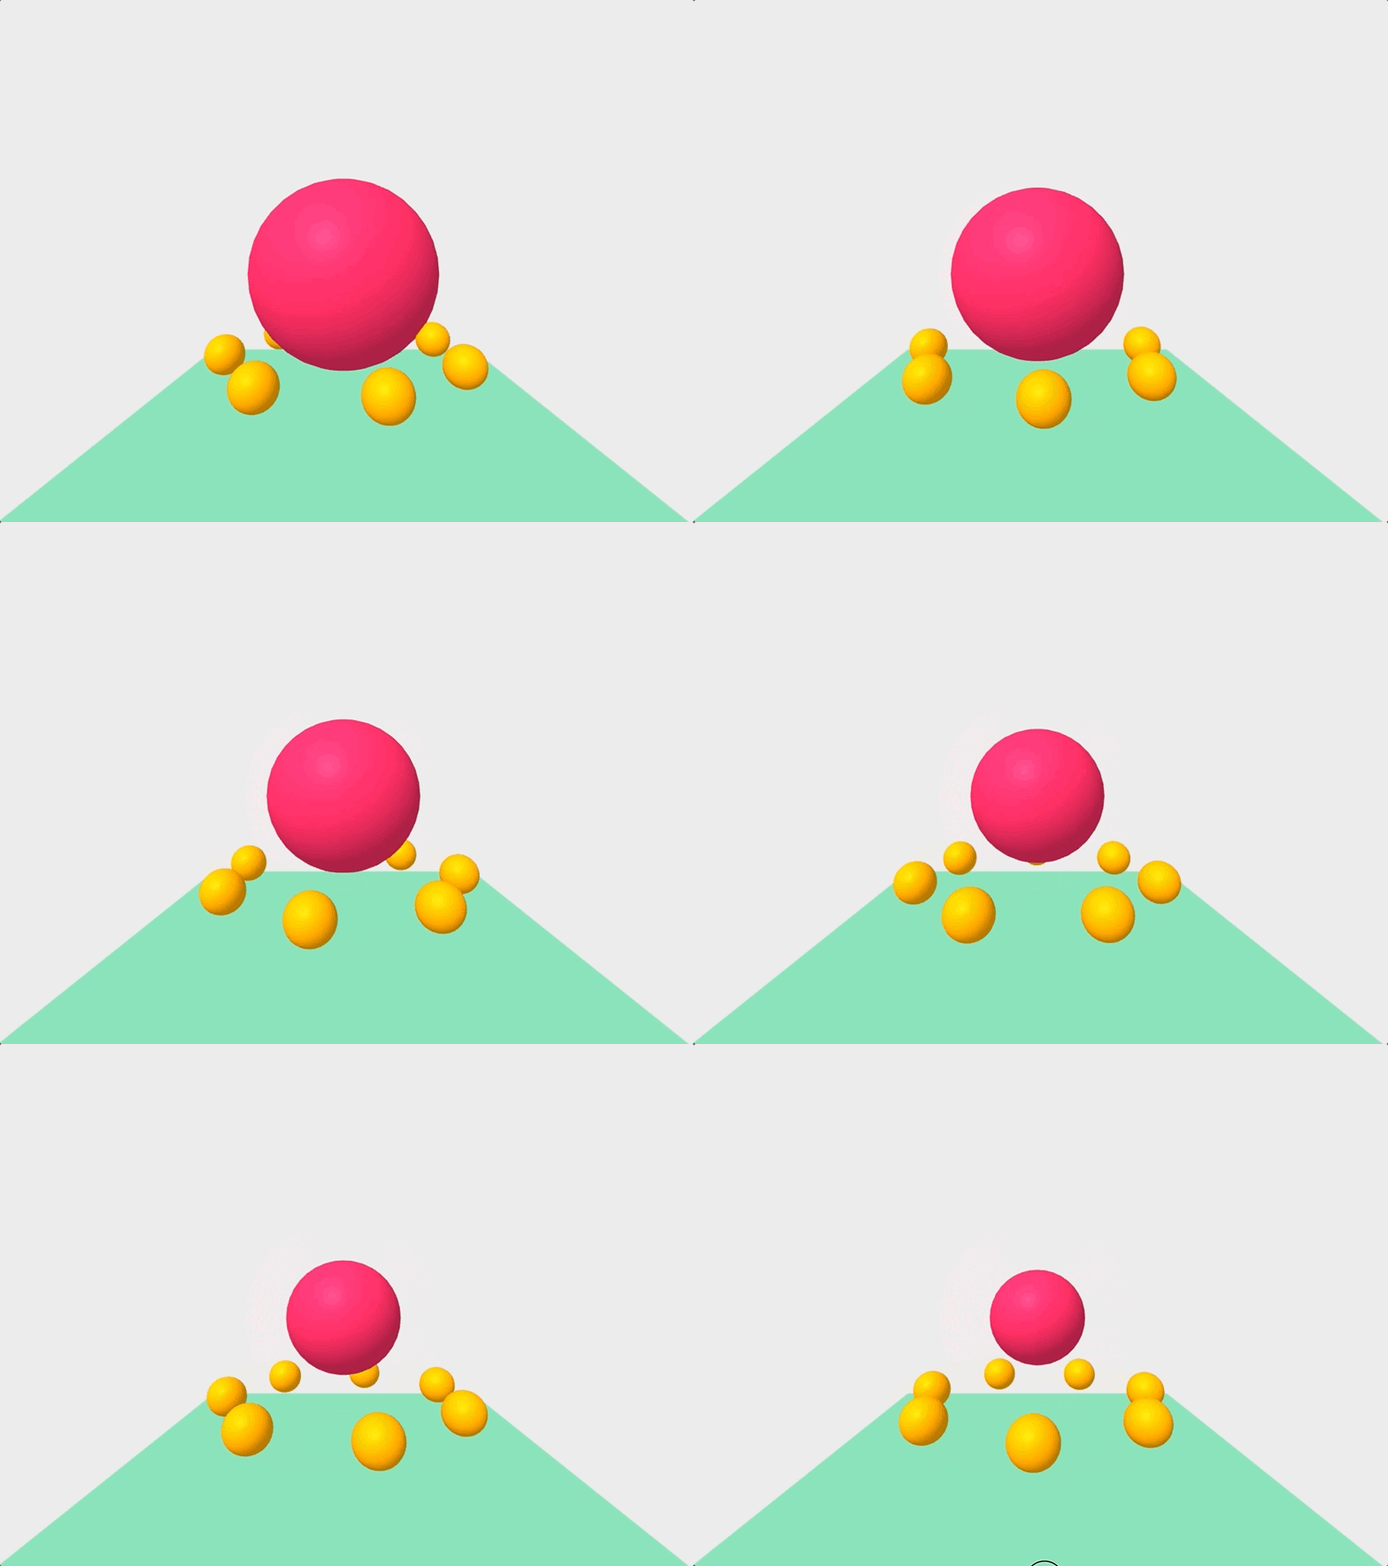
And there you have it! We successfully created an animated VR scene with less than 100 lines of code!
Testing it with the WebXR API
Now if you’re anything like me and haven’t shelled out for a VR headset yet, don’t worry! You can test out your VR website in either Chrome or Firefox using the WebXR API. Just install the following extension:
For Firefox: https://addons.mozilla.org/en-US/firefox/addon/webxr-api-emulator/
For Chrome:
https://chrome.google.com/webstore/detail/webxr-api-emulator/mjddjgeghkdijejnciaefnkjmkafnnje?hl=en
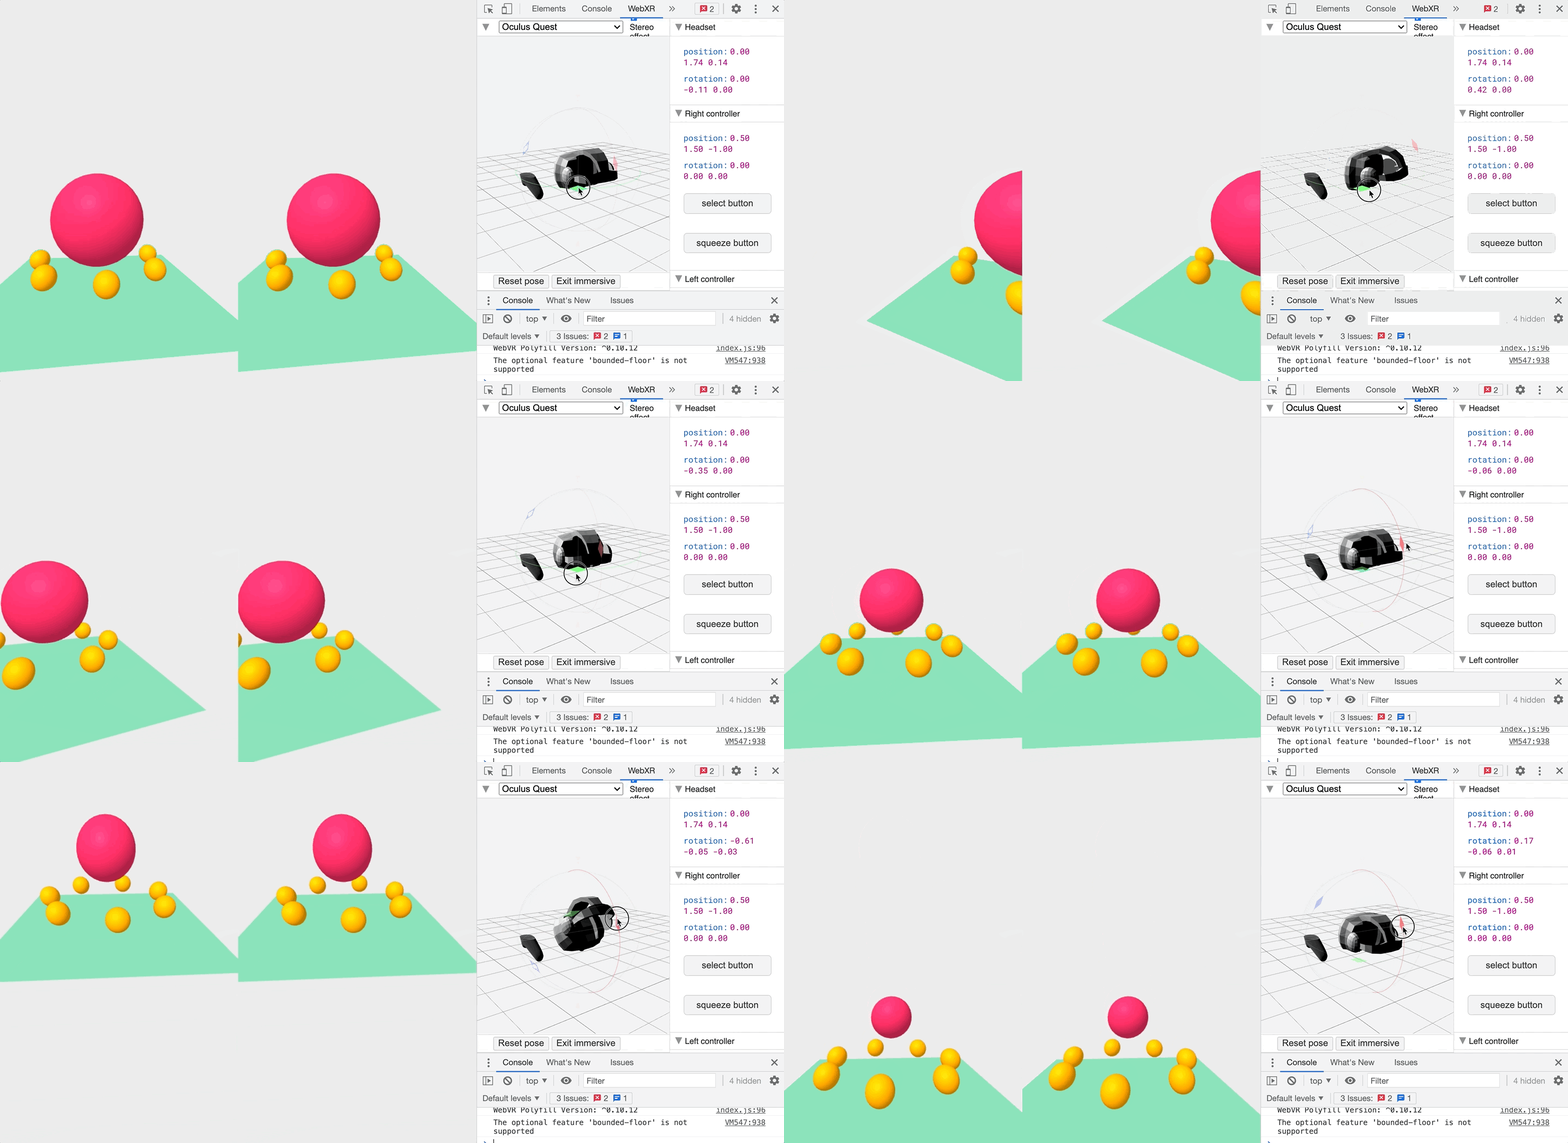
Once installed, you can head to the WebXR tab when inspecting the page, and play with an emulated headset!
So what are you waiting for! Get started!
Once you’re ready to deploy your app, give Codesphere a try! We’re the first cloud platform that truly lets you get under the hood of your cloud environment
Happy coding!

